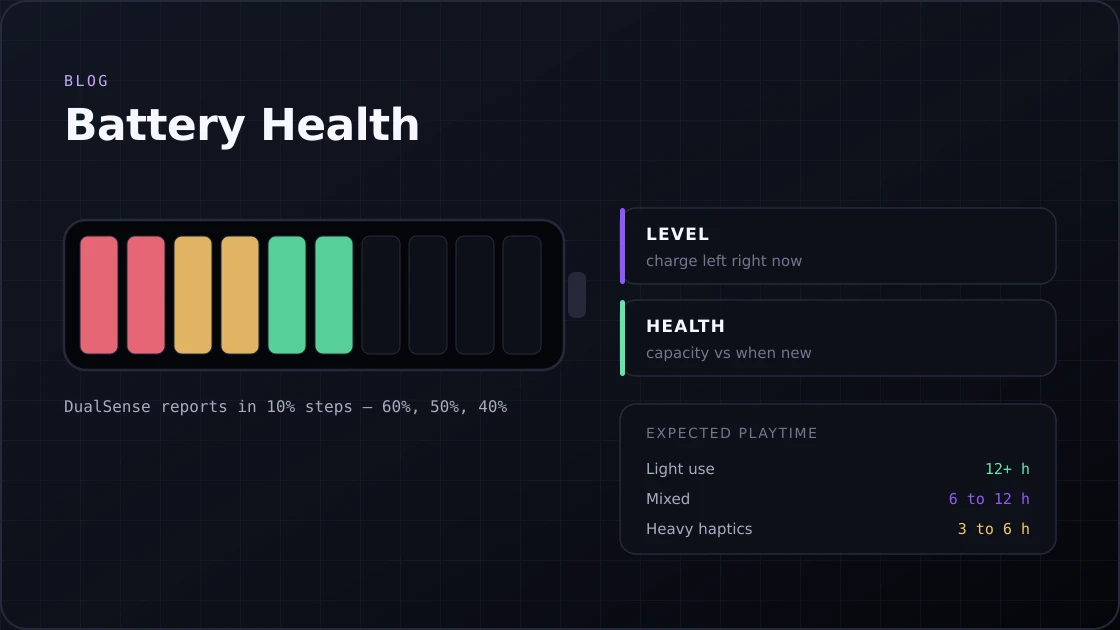
How to Check PS5 Controller Battery Health?
Not sure how to check PS5 controller battery health or Xbox battery level? Follow this guide to monitor, fix, and extend your controller battery life.
15 min · August 6, 2026
Fix stick drift and calibrate your PS5, Xbox, or PS4 controller. Step-by-step guide with deadzone tips and response curve settings that work.
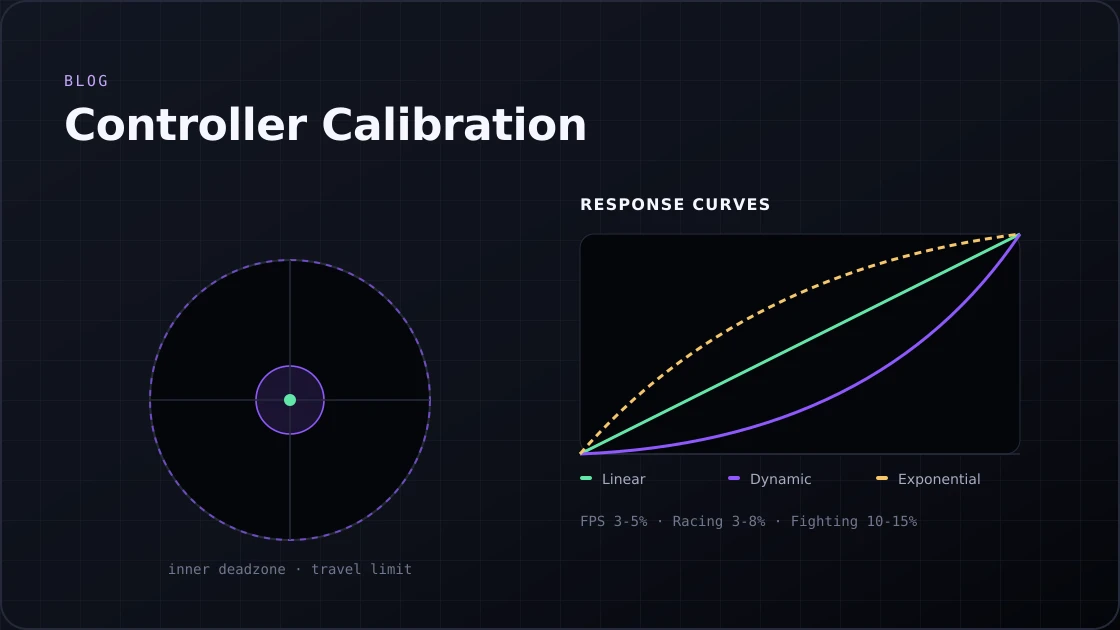
Controller calibration is the process of telling your gamepad what "center" and "maximum" look like for each analog stick and trigger. Every controller has slight mechanical differences, and those differences get worse with time and use. Calibration corrects the software reference points so your inputs register cleanly, and a gamepad tester is the quickest way to see whether it worked.
One thing to know before you start: calibration fixes software and offset issues. It does not repair worn hardware. If your stick is physically damaged or the sensor is degraded, calibration may help temporarily but the drift will come back. This guide covers both situations so you know exactly what to do.
People often mix up calibration with repairs. They are two different things.
Calibration sets three things:
It does not fix worn potentiometers, failed magnetic sensors, or debris stuck inside the module. If calibration is not holding, the problem is physical, not software.
Before doing anything, run a quick test and watch the raw X/Y axis values when you are not touching the stick.
| Rest Value | What It Means |
|---|---|
| 0.00 to 0.03 | Healthy. Calibration should work. |
| 0.04 to 0.14 | Minor offset. Calibration likely fixes it. |
| 0.15 and above | Hardware issue. Clean or replace the module first. |
If your stick reads above 0.15, skip straight to the hardware section at the bottom of this guide.
Not every issue needs calibration. Here is when it genuinely helps:
You do not need to recalibrate every few months as a routine. Calibrate when something changes or when you notice a real input problem.
The PS5 does not have a dedicated calibration wizard like Windows does. You use a combination of system settings, firmware tools, and browser-based options depending on what you need.
Outdated firmware causes false drift readings. Always update before calibrating.
If you are on PC, update via the PlayStation DualSense Firmware Updater app from Sony's official support page.
Do this before any calibration attempt. It clears corrupted reference points.
The PS5 gives you a coarse stick sensitivity slider under Settings > Accessories > Controllers > Adjust Analog Stick Sensitivity. This is not precise numeric calibration but it affects how the console interprets stick input.
For precise deadzone control, go into individual game settings. Most PS5 titles have their own deadzone sliders that override system settings entirely.
If you have replaced the analog stick module and the stick reads off-center, use the Gamepad Tester calibration tool.
Requirements:
What our tool does:
After saving, verify that the zero point held before closing the browser.
Xbox controllers have more calibration options than PlayStation ones. Three tools cover the full process.
This is the built-in Windows calibration path. It works best for DirectInput games and older titles.
One important thing: joy.cpl writes calibration data to the Windows registry and affects DirectInput games. Most modern Xbox titles released after 2014 use XInput and read raw stick values directly. They apply their own deadzone and may not pick up your joy.cpl changes at all. So if calibrating here does not change how the game feels, that is why.
This is the better option for modern games. Download it free from the Microsoft Store.
Steps:
The PS4 has no calibration menu on console. Your options are in-game settings or PC software.
Connect your DualShock 4 via USB before opening our calibration tool. The process is the same as DualSense: set the zero point, define travel limits, verify circularity. DualShock 4 controllers support the same browser-based wizard as DualSense.
Most cross-gen and PS4-era titles include deadzone sliders under control settings. These override everything at the OS level. Always tune here first before touching any software.
Games like Call of Duty, Apex Legends, and Fortnite give you granular control. Set your inner deadzone as low as possible without drift appearing. A value between 0.03 and 0.07 covers most healthy PS4 controllers.
Deadzone is the most misunderstood part of calibration. Getting it right matters more than most settings you will find in a game menu.
Inner deadzone is the dead zone at the center of stick travel. Small inputs within this zone are ignored.
Outer deadzone is how far you have to push the stick before it registers 100% input.
Your ideal deadzone is just above your noise floor. Not a round number. The actual value your specific controller needs.
| Game Type | Inner Deadzone | Outer Deadzone | Response Curve |
|---|---|---|---|
| FPS / Shooter | 3 to 5% | 0% | Linear |
| Racing | 3 to 8% | 1 to 3% | Linear |
| Fighting | 10 to 15% | 0% | Linear |
| RPG / Adventure | 10 to 20% | 0 to 5% | Exponential |
| Flight Simulation | 3 to 5% | 0% | Exponential |
| Sports | 8 to 12% | 0 to 3% | Linear |
A response curve controls how stick position maps to in-game movement speed. Same stick deflection, completely different feel depending on the curve.
Linear gives you a 1 to 1 relationship. Halfway out on the stick equals exactly half speed. Nothing accelerates or compresses. This is what 58% of professional Apex Legends players use because muscle memory is reliable and predictable.
Exponential gives you finer control at low deflection and faster output near the edge. Useful for flight simulators and RPGs where you need precise slow movement and occasional full sweeps.
Dynamic starts slow and accelerates before full deflection. This is dominant in Call of Duty competitive play, with 94% of CoD League professionals using it. It helps snap to targets at close range without needing a dangerously high sensitivity.
One rule that matters: if you are using a Linear curve, set aim acceleration to 0. Acceleration changes your effective sensitivity based on how fast you move the stick, which makes precise muscle memory impossible.
If you have upgraded to Hall Effect or TMR analog sticks, calibration still applies but the reasons are different.
Hall Effect sensors use magnets instead of resistive carbon tracks. Because there is no physical contact between moving parts, they do not wear the way standard potentiometers do.
TMR sticks take magnetic sensing further with higher precision and lower electrical noise. They are the current standard for competitive and custom-modded controllers in 2026.
The Button Tester and the live stick readouts work the same way regardless of which sensor type you have installed.
On PC, fix the XInput inflation first before touching sensitivity. Once the effective deadzone is back to 10 to 12%, fine-tune from there.
FPS starting points:
Racing starting points:
These are the things that waste time and make people think calibration does not work.
At some point, no amount of software adjustment fixes what is happening.
Start with cleaning. Compressed air around the stick base removes loose dust. A cotton swab lightly dampened with isopropyl alcohol cleans the area around the module more thoroughly. Move the stick in all directions after cleaning to help distribute and dry the solution. Allow it to fully dry before plugging the controller back in and testing.
If cleaning does not help, the analog module needs replacement. After installing new sticks, always run the calibration tool to set the correct zero point for the new hardware. A new stick without calibration may read off-center because the physical position differs slightly from the old one.
If the drift value is under 0.15 at rest and the issue is a software offset, yes. If the value is higher, the analog module is worn and calibration will not hold.
Only when something changes. New stick modules, Windows updates, platform switches, or after a factory reset. There is no need to recalibrate on a schedule if the controller feels fine.
Partially. The Xbox Accessories app works on Xbox consoles for firmware updates and Elite Series 2 profiles. Full deadzone and curve adjustment needs the app on a PC or per-game settings on console.
Set it as low as possible without idle drift appearing. For most controllers, this lands between 3 and 7%. Find your specific noise floor first.
Windows-level calibration affects DirectInput games only. Modern XInput games ignore it and use their own in-game deadzone settings.
Xbox Series controllers ship with an effective deadzone of 25 to 30% on PC because of how the XInput driver processes input. This is not hardware drift.
Yes, but for a narrower use case. It works well for flight sticks, racing wheels, and older DirectInput games.
Calibration sets the hardware reference points: where center is, how far the stick travels. Deadzone adjustment tells the game or OS how much of that range to ignore near the center.
Not sure how to check PS5 controller battery health or Xbox battery level? Follow this guide to monitor, fix, and extend your controller battery life.
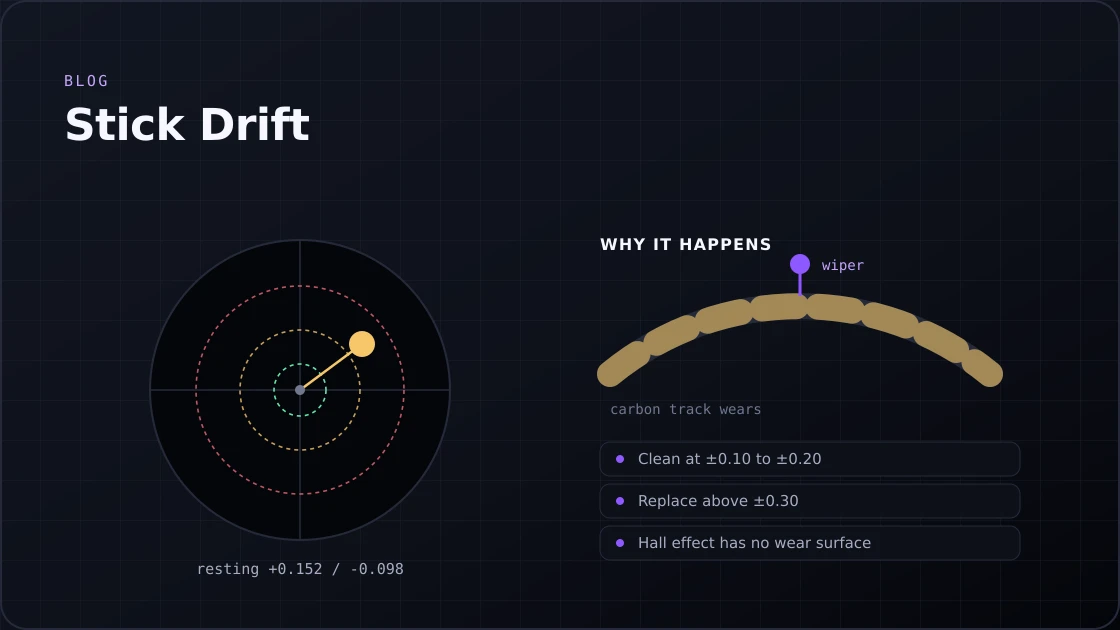
Got stick drift on PS5, Xbox, or Switch 2? Test your controller, identify the causes, and fix it for good with these proven steps.
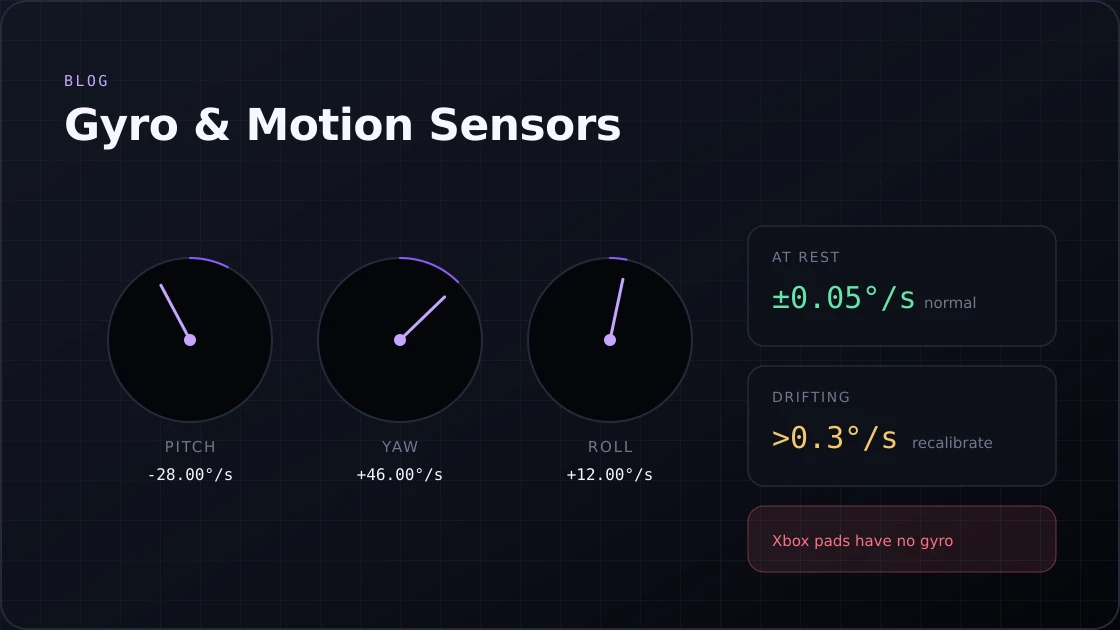
Test your controller's gyro sensor online. Check pitch, yaw & roll on PS5, Switch & more. Spot gyro drift in seconds. No download required.
Or go back to the gamepad tester and read your controller's live values.